Showing posts with label chocolate. Show all posts

Baby Shower Cake and Cupcake Tower

This cake was a fun cake to make!

The flavors were simple... chocolate and vanilla with buttercream frosting.
The challenge was in the fondant work.

The top cake had a lot of adornments. Out of fondant I made a little baby covered by a blanket, a toy teddy bear, some blocks, a bottle and a ball.


For the cupcakes I molded little baby feet. I also put a few baby feet around the sides of the cake.


Here is everything all together.....


Happy Birthday Patrick

One of the adorable Bunker babies turned 1 last weekend and I was asked to make his birthday cake!

One of his favorite things is Sesame Street so I ran with that and made the Sesame Street themed cupcake tower.

I started with a 6inch chocolate cake for the top. It was frosted in white buttercream. To decorate it I cut out orange and green circles from fondant and also cut out a green "street" sign for the side of the cake. On the "street" sign cut out I wrote Patrick and the # 1. On the top edge of the cake I piped out the Happy Birthday message.


For the cupcakes I made Elmo and Cookie Monster.


The frosting was still the same buttercream just colored red and blue. I used 2 different tips to frost the cupcakes. The eyes were store bought and for Elmo I cut his mouth out of fondant and for cookie monster I used 1/2 an oreo in place of his mouth.

Here is the final product....


From what I hear Patrick loved the cake and happily destroyed 2 cupcakes!

Happy Weekend everyone!

Reid's 1st Birthday Cake

The Family I nanny for asked me to make a Cake and Cupcakes for their daughter's first birthday! They decided to go with a Lady Bug theme for her cake and I seriously had so much fun making it!

The flavors were simple... Chocolate and Vanilla with Vanilla buttercream.... the adventure was in the design.

The cupcakes were frosted with Pink and Green frosting and topped with some different fondant pieces.

On the green frosted cupcakes I had these cute little pink ladybugs!


The pink frosted cupcakes were topped with black "ladybug" dots!


For the cake it was frosted in pink and covered in black "ladybug" dots. I also wrapped it with a green ribbon. For the top of the cake I made a number 1 out of fondant and also some little flowers to stick out of the cake on wire.


For the Birthday message I cut out a flower shape from white fondant and piped on the message.

Overall I thought this was the cutest cake I have made yet and from the pictures I saw Reid enjoyed it as well!!!


I hope everyone stays dry during these rainy days and stay tuned this weekend for the 3rd cake I made this past weekend!!

Graduation Cupcake Tower

So last week I made a graduation cake for Dominique and her family to enjoy on her actual graduation... Yesterday was her AWESOME graduation party and I was privileged enough to make a cupcake tower for the occasion.

I stuck with the school colors for this cake too. The cupcakes were vanilla and chocolate. I colored the vanilla cupcakes orange and frosted the cupcakes with buttercream.

I topped the vanilla cupcakes with black stars cut from fondant and dusted with edible silver shimmer. The chocolate cupcakes were frosted in orange.


For the top of the tower I made a 6inch cake. I wanted the cake to look like a graduation cap. To do this I took a square cake board and covered it in black fondant. I made an orange tassel out of fondant and added some wording to the top of the cap. The actual cake was frosted in white buttercream and I tried coloring it black using Wilton's Color Mist spray. It didn't come out as black as I hoped but it was was serviceable.


Here is the final product all set-up at the party...


CONGRATULATIONS DOMINIQUE!!!!!!!!

Keep checking back this week for posts about 2 other cakes I made this weekend!

2 Tier Cirlce Cake

Tonight is Newton North High School's Senior Prom and one of my favorite clients requested a cake for the occasion.

She gave me creative liberty to do whatever I wanted for the cake, she just requested the cake be in colors that coordinated with her daughter's dress.

I started with 2 cakes. An 8inch and a 6inch, both chocolate cake with peanut butter filling.
I frosted each cake with a pink Buttercream and then stacked them into 2 tiers. This is the first tiered cake I have ever made.... not too bad for my first attempt I think.


After the cake was stacked I got to working on the decorations. I colored some pink and purple fondant and cut out a couple of different sized circles. I also cut out some letters from the purple fondant to say "NNHS Prom 2011"

I strategically placed the circles, piped a white border on each tier and placed the lettering on the top of the cake. As a final touch I topped the cake off with some hot pink and brown accent feathers.

I hope all kids enjoy the cake after they dance the night away!


Individual Boston Cream Pie

This past Friday evening the Hubz and I attended a very yummy dinner party with his cousins. One of the guests brought these cute and delectable desserts and after taking one bite I knew I had to make them myself!!!!

Saturday morning rolled around and after a quick trip to the grocery store I got to baking!

The person who made these on Friday said she used muffin pans and cut each muffin in half before filling. I decided to use whoopie Pie Pans instead. The cake is just a basic vanilla cake.


The filling is instant vanilla pudding mixed with 1/2 cup of cool whip. Very simple. I did make a small mistake with the filling..... I followed the recipe on the box for the instant pudding which called for 2 cups of cold milk. When making the filling only 1 cup of cold milk should be used to create a firmer filling. Once the pudding has set you can mix in the 1/2 cup of cool whip.

Each individual cream pie used about 1 1/2 tablespoons of filling.


So far this is probably one of the easiest recipes I have ever made and it continues to be easy.
For the chocolate topping, microwave 1 cup of cool whip with 1/3 cup of milk chocolate morsels. I microwaved in 30 second increments stirring in between to combine the melting chocolate with the cool whip. After combined let stand 15 minutes so the mixture can thicken before spreading about 2 teaspoons on top of each pie and WHA-LA!!!


DELICIOUS SIMPLE INDIVIDUAL BOSTON CREAM PIES!!!!!


p.s. These are also the perfect treats to keep away all these rainy day blues :)

30th Birthday Cake & Cupcake tower

I was very excited to make this cake once the order was finalized! The client requested a Tiffany Blue theme with silver and white accents.

For the cupcakes, the flavors were chocolate with buttercream and Cookies n' cream. They were frosted in Tiffany Blue and I used Silver and white sugar balls to decorate the tops.

The cake was the really fun part!

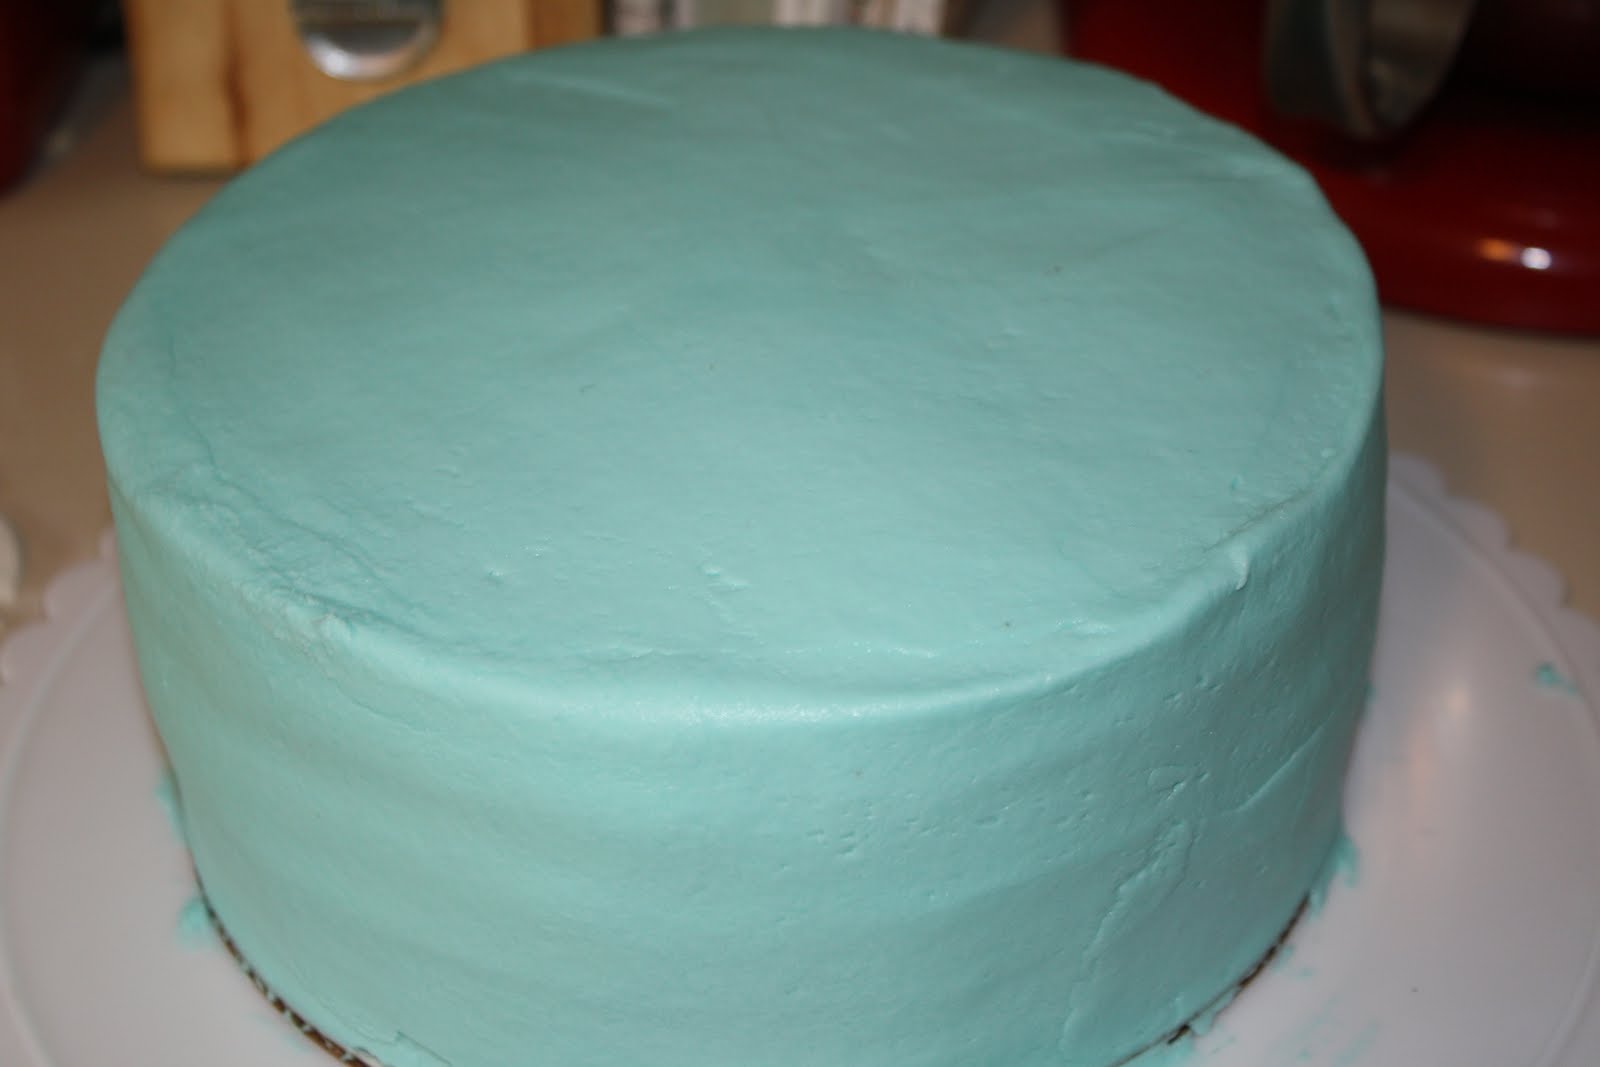
I started with 2 inch chocolate cakes. I filled the cake with chocolate filling and then crumb coated it using Tiffany Blue Buttercream.


After the crumb coat dried I generously frosted the cake in the same Tiffany Blue Buttercream.


The day before I Had constructed a cute white bow out of fondant. While the cake was frosting was setting on the cake I cut out my ribbon and tag pieces from the white fondant.

Once everything was cut out I added the Birthday message to the fondant tag and added all of the pieces to the cake.


I was so happy with how the cake came out! I assembled everything on the cupcake tower alternating the cupcake flavors.


I think it looked really cute! I hope Jackie had a Happy 30th Birthday and enjoyed her cake and cupcakes!!!

Have a great week eveeryone!

Cupcakes and Raspberry Buttercream

Last time I baked lemon filled cupcakes I wished I had made raspberry buttercream to frost them with. This weekend I had the opportunity to make that wish come true :)

I had an order to make 5 dozen assorted cupcakes this weekend. One of the flavors was lemon filled with raspberry buttercream.

I started with basic vanilla cupcakes and this time to fill the cupcakes I used the cone method. What is the cone method you ask? Well........

basically you cut a cone shaped piece of the cupcake out so you can fill it with filling. For these cupcakes I used lemon curd. So tart and refreshing! Once the cupcakes are filled you place the piece of cake you cut out back onto the cupcake.


Now for the frosting I had a moment of failure. I wanted to use raspberry preserves in the frosting.... however, when I bought the preserves I didn't buy seedless like I meant to. I didn't want to have a million raspberry seeds in my frosting so I went for plan B and used the raspberry extract I had and a little bit of red food coloring.


The taste of the frosting was good.... but I know with raspberry preserve it would have been better! Hopefully next time I buy the right thing at the grocery store :)

In addition to my lemon cupcakes I had some extra chocolate cupcakes so I decided to top those off with the raspberry as well!


My house was full of cupcakes this weekend! It was hard not to eat them all! hahaha
I hope everyone has a great week!

Recipe:
Raspberry Buttercream Frosting

1 Cup of softened butter
1 Cup Vegetable shortening
1 tsp vanilla
5 tbsp water
2lbs confectionery sugar
Raspberry extract (to taste)
Red food coloring (optional)

Directions:
Combine butter, shortening, vanilla and water until smooth. Add in confectionery sugar and mix until smooth. Scrape down sides at least once to incorporate all ingredients. Add raspberry extract 1 tsp at a time to get desired flavor. (you can add more water or sugar to get desired consistency) Add and stir in 2-3 drops of food coloring to get pinkish red raspberry color.

Cake Balls

I'm sure most of you have seen or heard about Cake Pops and Cake Balls. They are definitely a huge trend right now. I believe Bakerella started making these perfect bite size morsels and it was a truly Genius idea!!

The first time I made Cake Pops was around Christmas time. They are definitely labor intensive but in the end definitely worth it in my opinion!

This time I was making cake balls (same as cake pops but without the stick) for an order. One of the best part of making these is you get to totally cheat and use everything store bought!

I started with boxed yellow cake mix and baked up a 12inch round cake.


Once the cake is cooled completely I smash it to smithereens in a bowl. You basically want to make the cake all crumbs... no big pieces.
Next I incorporated 1 container of store bought buttercream frosting. To make sure all the cake is coated with frosting I have found it is really best to just get down and dirty use your hands.


Once it was all incorporated and my hands were washed I used my cookie scoop to scoop out nice and uniformed size cake balls. I put them onto a cookie sheet that was covered with tinfoil and once they were all scooped into the freezer they went.


After about an hour in the freezer the cake balls came back out to be hand rolled so they were smooth and compact and then I popped them back into the freezer while I melted the chocolate.


For this order I used light pink candy melts. Once the chocolates were all melted and I was ready to dip the cake balls I took them out of the freezer 2 at a time for dipping.

The dipping is the most difficult part and time consuming part of making these. I think I need to invest in a candy dipping set but for this order I used just a plain old spoon.
I placed each ball in the bowl of chocolate and spooned more chocolate over the ball to cover it completely.
Using the spoon I lifted out each cake ball and tapped the spoon on the side of the bowl a few times to get off the excess chocolate. Once the ball was covered and the excess chocolate tapped off I slid each ball off the spoon and onto another foil covered pan so the chocolate could harden.

Once all of the cake balls were covered and hardened, I used the extra chocolate to decoratively drizzle on the balls.


I think the final product always looks so cute and sophisticated! And they taste AWESOME!


In the end, one box cake and 1 container of frosting yielded 32 cake balls.

These cake balls were accompanied by some cookie dough and peanutbutter cup cupcakes! Here is what everything looks like all packaged and ready to be delivered!!


Have a happy week of baking!!!
Related Posts Plugin for WordPress, Blogger...